Why I boot Linux from a USB-attached NVMe
I run a small home server on a Mini-ITX desktop that I also use as my gaming machine on Windows. The motherboard, an ASRock B550M-ITX/ac, has a single PCIe slot occupied by the GPU and one obvious M.2 slot already taken by the Windows drive. When I wanted to run Linux on the same machine for LLM inference (Ollama, Open WebUI, that sort of thing), I had to find another way.
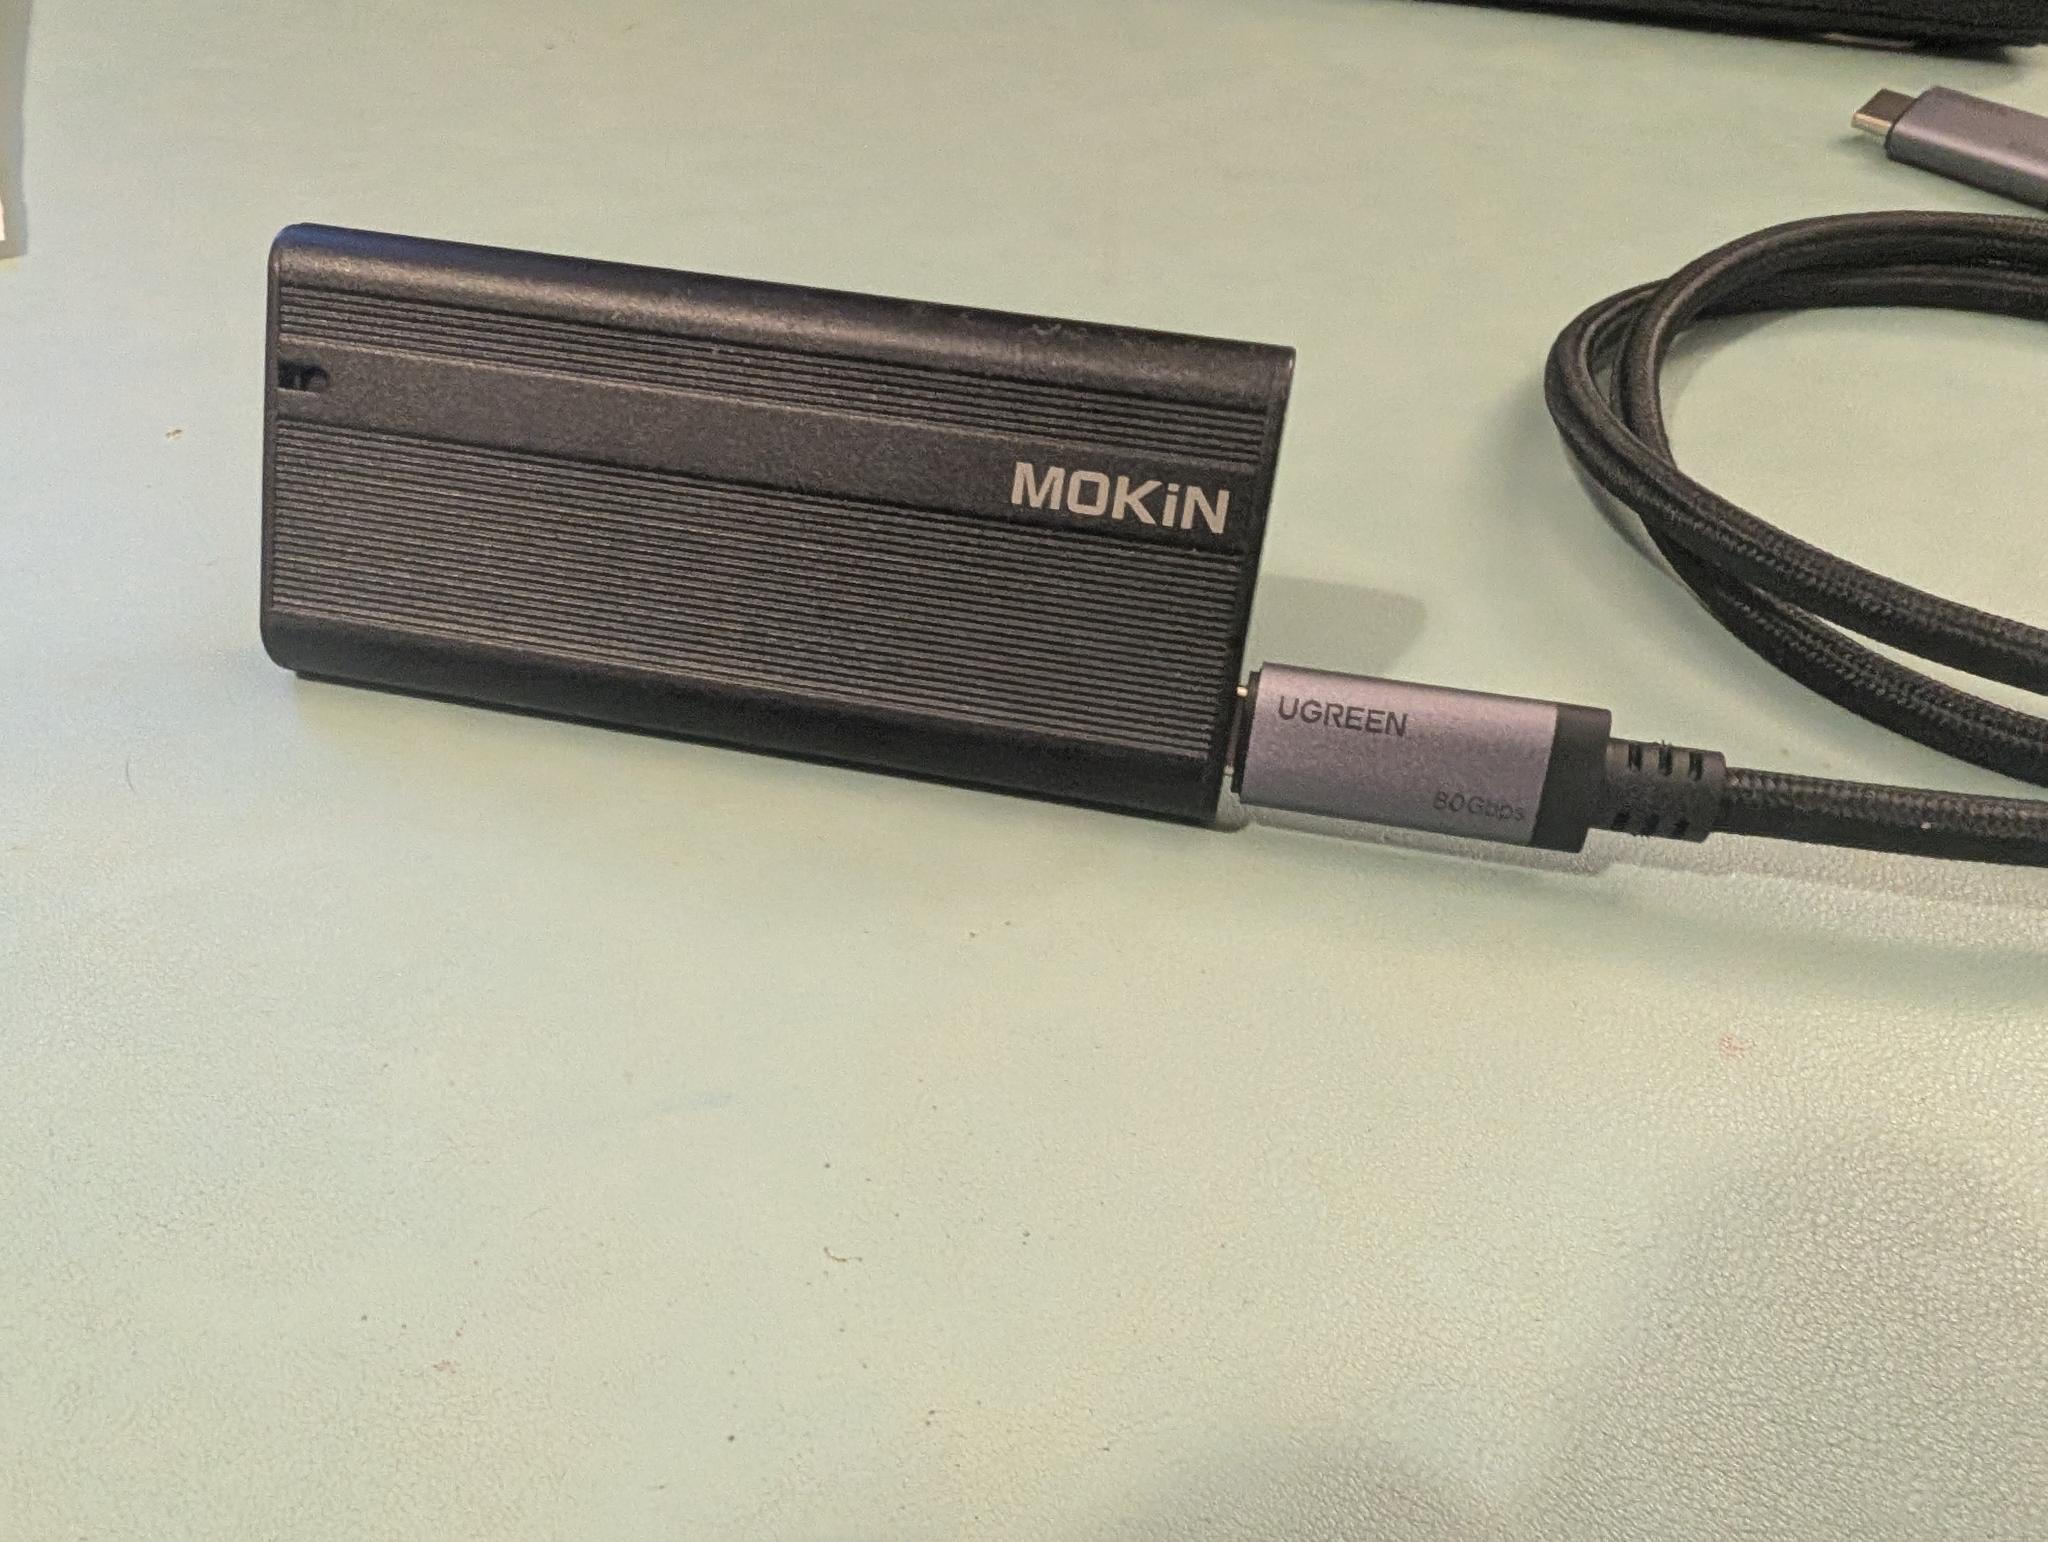
The solution is to boot Linux from an external NVMe in a USB enclosure. The drive is a 500 GB NVMe I pulled out of a previous laptop; the enclosure is a generic USB-C box I bought more or less at random, fully expecting it to be slow (more on that surprise later). UEFI on this board is happy to boot from USB if you tell it to, and as long as the drive stays plugged in the system comes up like any other Linux install. Unplug the disk and the desktop falls back to Windows automatically; no GRUB juggling, no boot-menu interaction at every power-on.
This last property is the one I really care about. When I’m done hacking, I pull the cable, and the machine reverts to being the gaming PC the rest of the household expects it to be. No “why is this thing showing a Linux boot menu now?”, no risk of someone in the family hitting the wrong key and ending up at a grub> prompt. Linux is present when I’m using it and invisible when I’m not.
The compromise is throughput. Loading a 22 GB model into VRAM is the slow part of starting an inference session, and on this setup the disk talks to the CPU through a USB cable. For a long time I assumed it was slow “because of USB” and didn’t think much about it.
Slow model loads, until I looked
The main annoyance was that the first inference after a cold boot took a long time. Ollama uses mmap to load model files, so the GPU only sees data once the kernel has paged it in from disk; for a 22 GB blob that’s a meaningful wait. I actually had to load my model twice as the first load would just time out and fail after a few minutes. The second one would succeed thanks to caching. I shrugged it off as “well, it’s USB” and moved on.
Until recently, when I started reading about USB and got curious about what speeds I was actually getting. Claude told me to run lsusb -t and the conclusion was clear:
$ lsusb -t
/:  Bus 001.Port 001: Dev 001, Class=root_hub, Driver=xhci_hcd/4p, 480M
/:  Bus 002.Port 001: Dev 001, Class=root_hub, Driver=xhci_hcd/2p, 10000M
/:  Bus 003.Port 001: Dev 001, Class=root_hub, Driver=xhci_hcd/4p, 480M
    |__ Port 002: Dev 005, If 0, Class=Mass Storage, Driver=uas, 480M
/:  Bus 004.Port 001: Dev 001, Class=root_hub, Driver=xhci_hcd/2p, 10000M
480M. My rootfs had been running at USB 2.0 speed this whole time, Claude told me — a transport from the year 2000, hauling LLM weights in 2026. At about 40 MB/s sustained, a 22 GB cold load works out to roughly nine minutes, which is exactly the wait I had been shrugging off.
But Claude was encouraging. “This is clearly fixable,” it told me. “Your port should be able to handle more, and your SSD enclosure is rated for 10 Gb/s!”
When I bought the enclosure, I hadn’t thought about speed at all — I just wanted a way to access an NVMe drive over USB, and assumed it would be “slow” without ever defining what that meant. So it was a small but pleasant surprise to learn that the JMS583 chip it was using was rated for USB 3.1 Gen 2 - up to 10 Gb/s. My desktop’s xHCI exposes SuperSpeed root hubs at 10000M too, so on paper I should have been able to get 10 Gb/s. That’s when I started looking into USB cables.
USB cables
“But a USB cable is a USB cable”, I thought. Sure, there are cheap cables out there, but the UGREEN cables I bought for charging my devices should be good enough. Little did I know how wrong I was.
I went through the household drawer of “USB-C things” one cable at a time, plugging each one in, watching lsusb -t, and noting the negotiated speed. 480M, 480M, 480M, etc. “It’s not possible!” I told Claude, “it can’t be true, that must be my devices not supporting this speed”. So I started redoing the tests with different devices, but the results were the same. Eventually I found one that came up at 5000M — a lonely SuperSpeed cable that had somehow infiltrated the drawer years ago and lived peacefully among a couple of dozen visually identical USB 2.0 charging cables. Was it the one originally provided with the SSD enclosure? I didn’t tell Claude about my suspicion — I was afraid it might judge me.
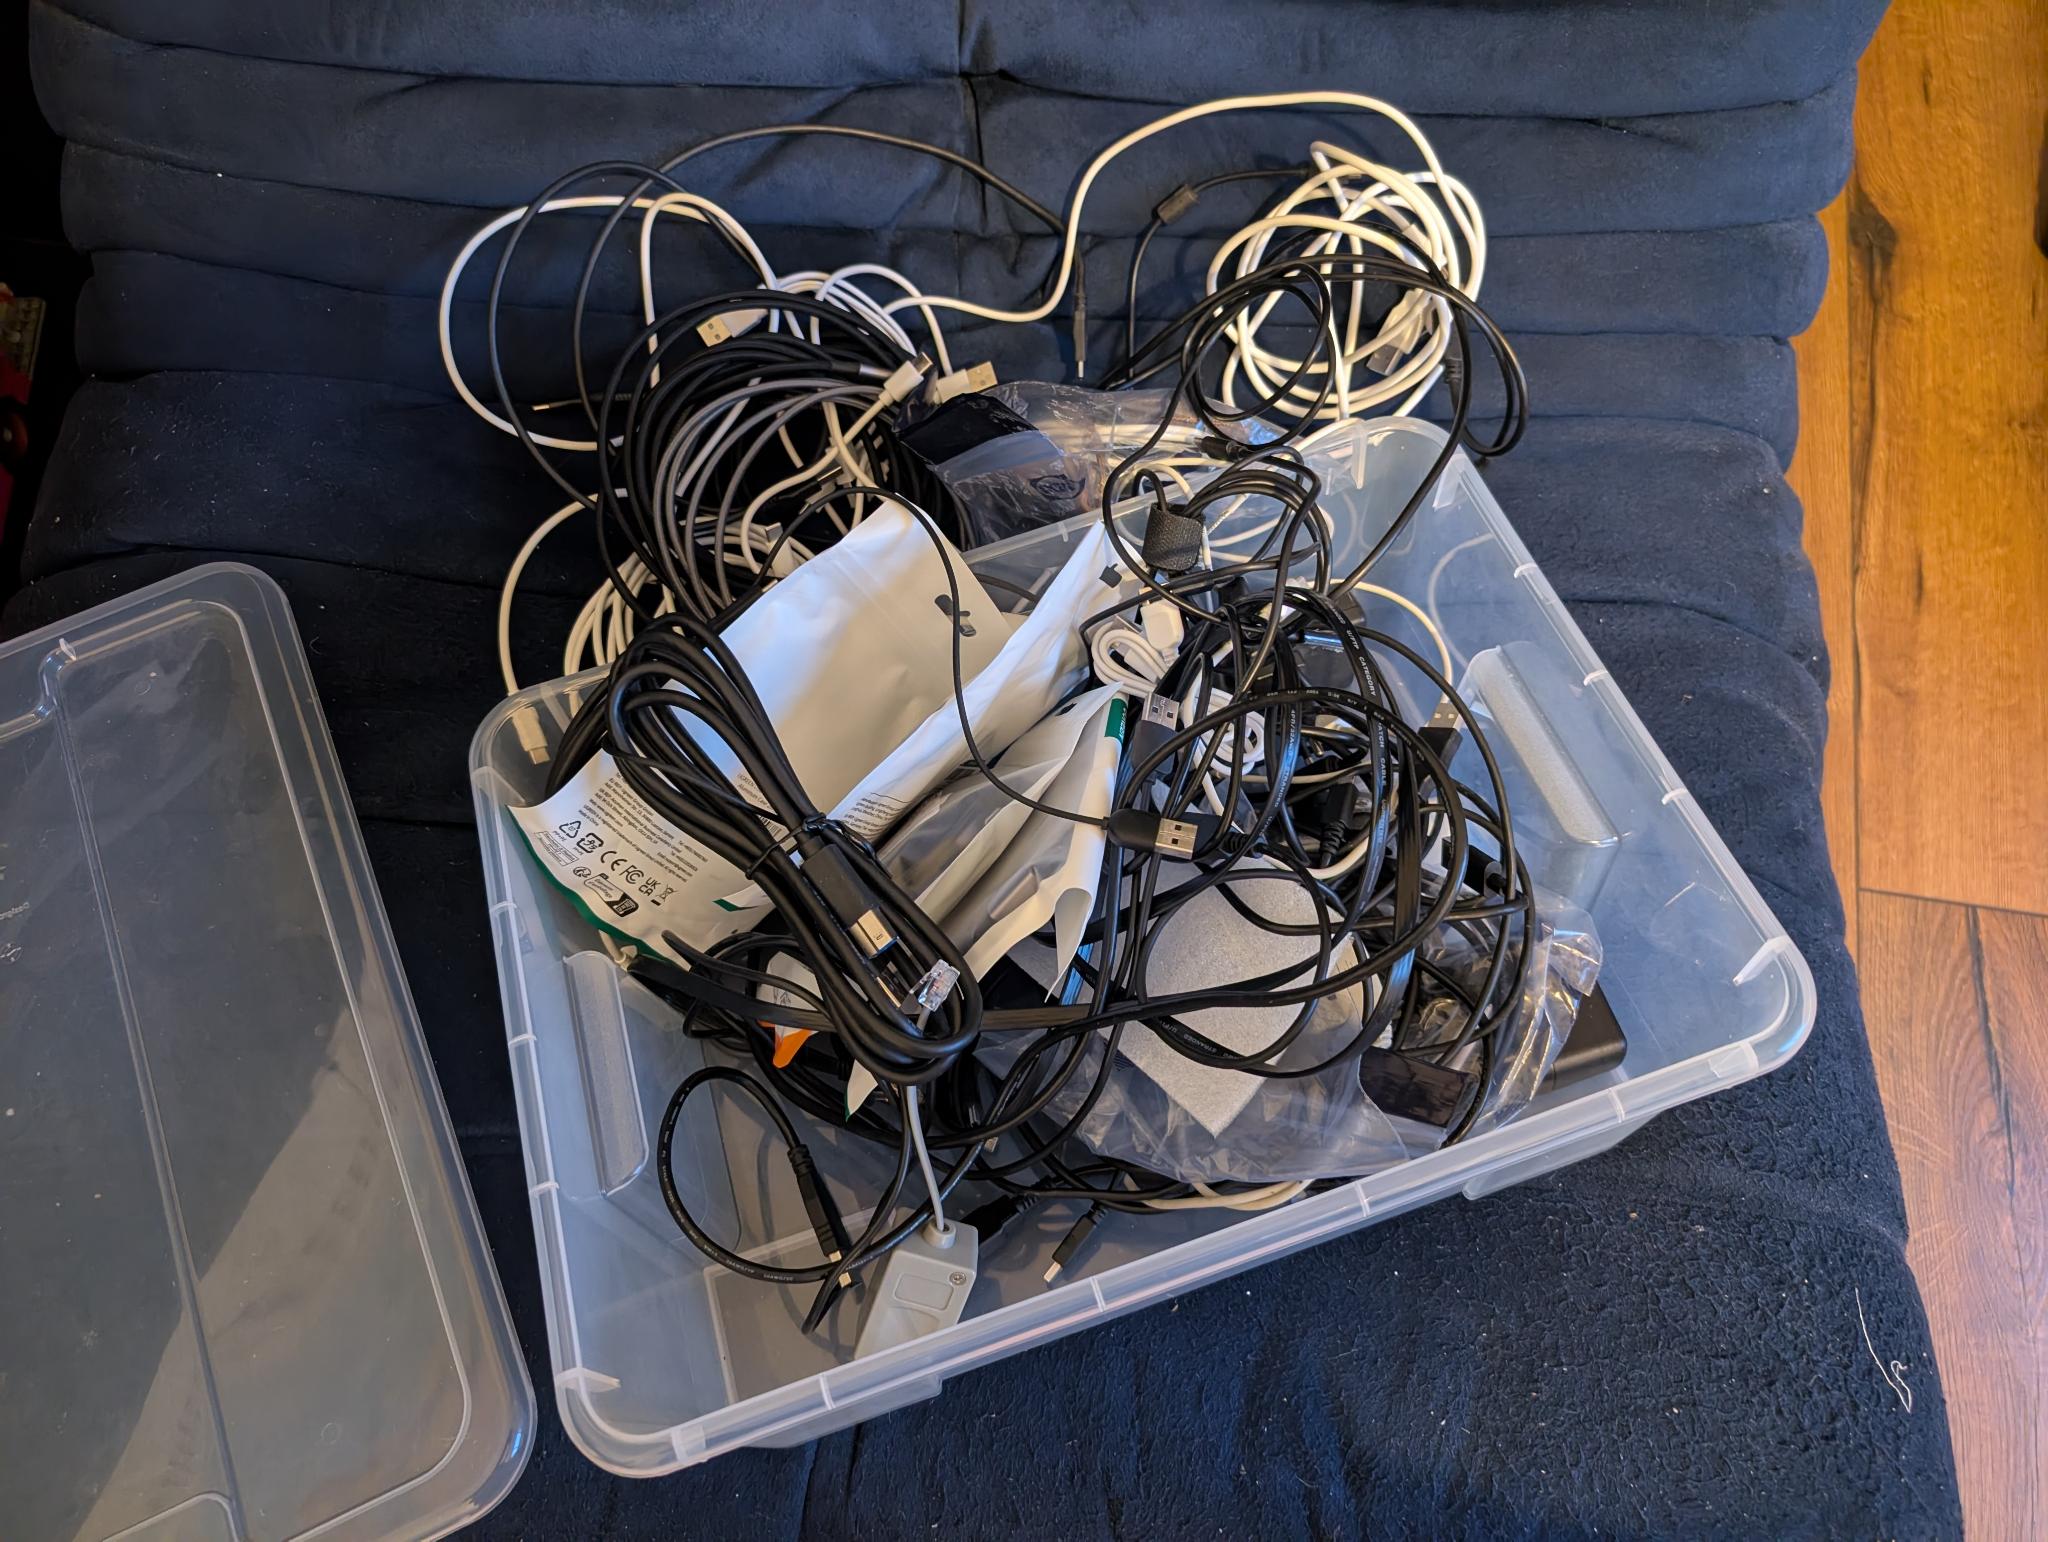
The mechanics here are worth spelling out, because they’re the reason this kind of mistake is easy to make. USB-C connectors physically accept cables that are electrically USB 2.0 only: the four legacy data wires are present, the two SuperSpeed differential pairs simply aren’t wired. The plug looks identical, the device powers up, files transfer, charging works — and the host quietly negotiates down to 480 Mb/s because there is no other option. The marking on the cable, if any, is whatever the manufacturer chose to print, and it long since rubbed off in mine.
Future-proofing, in theory
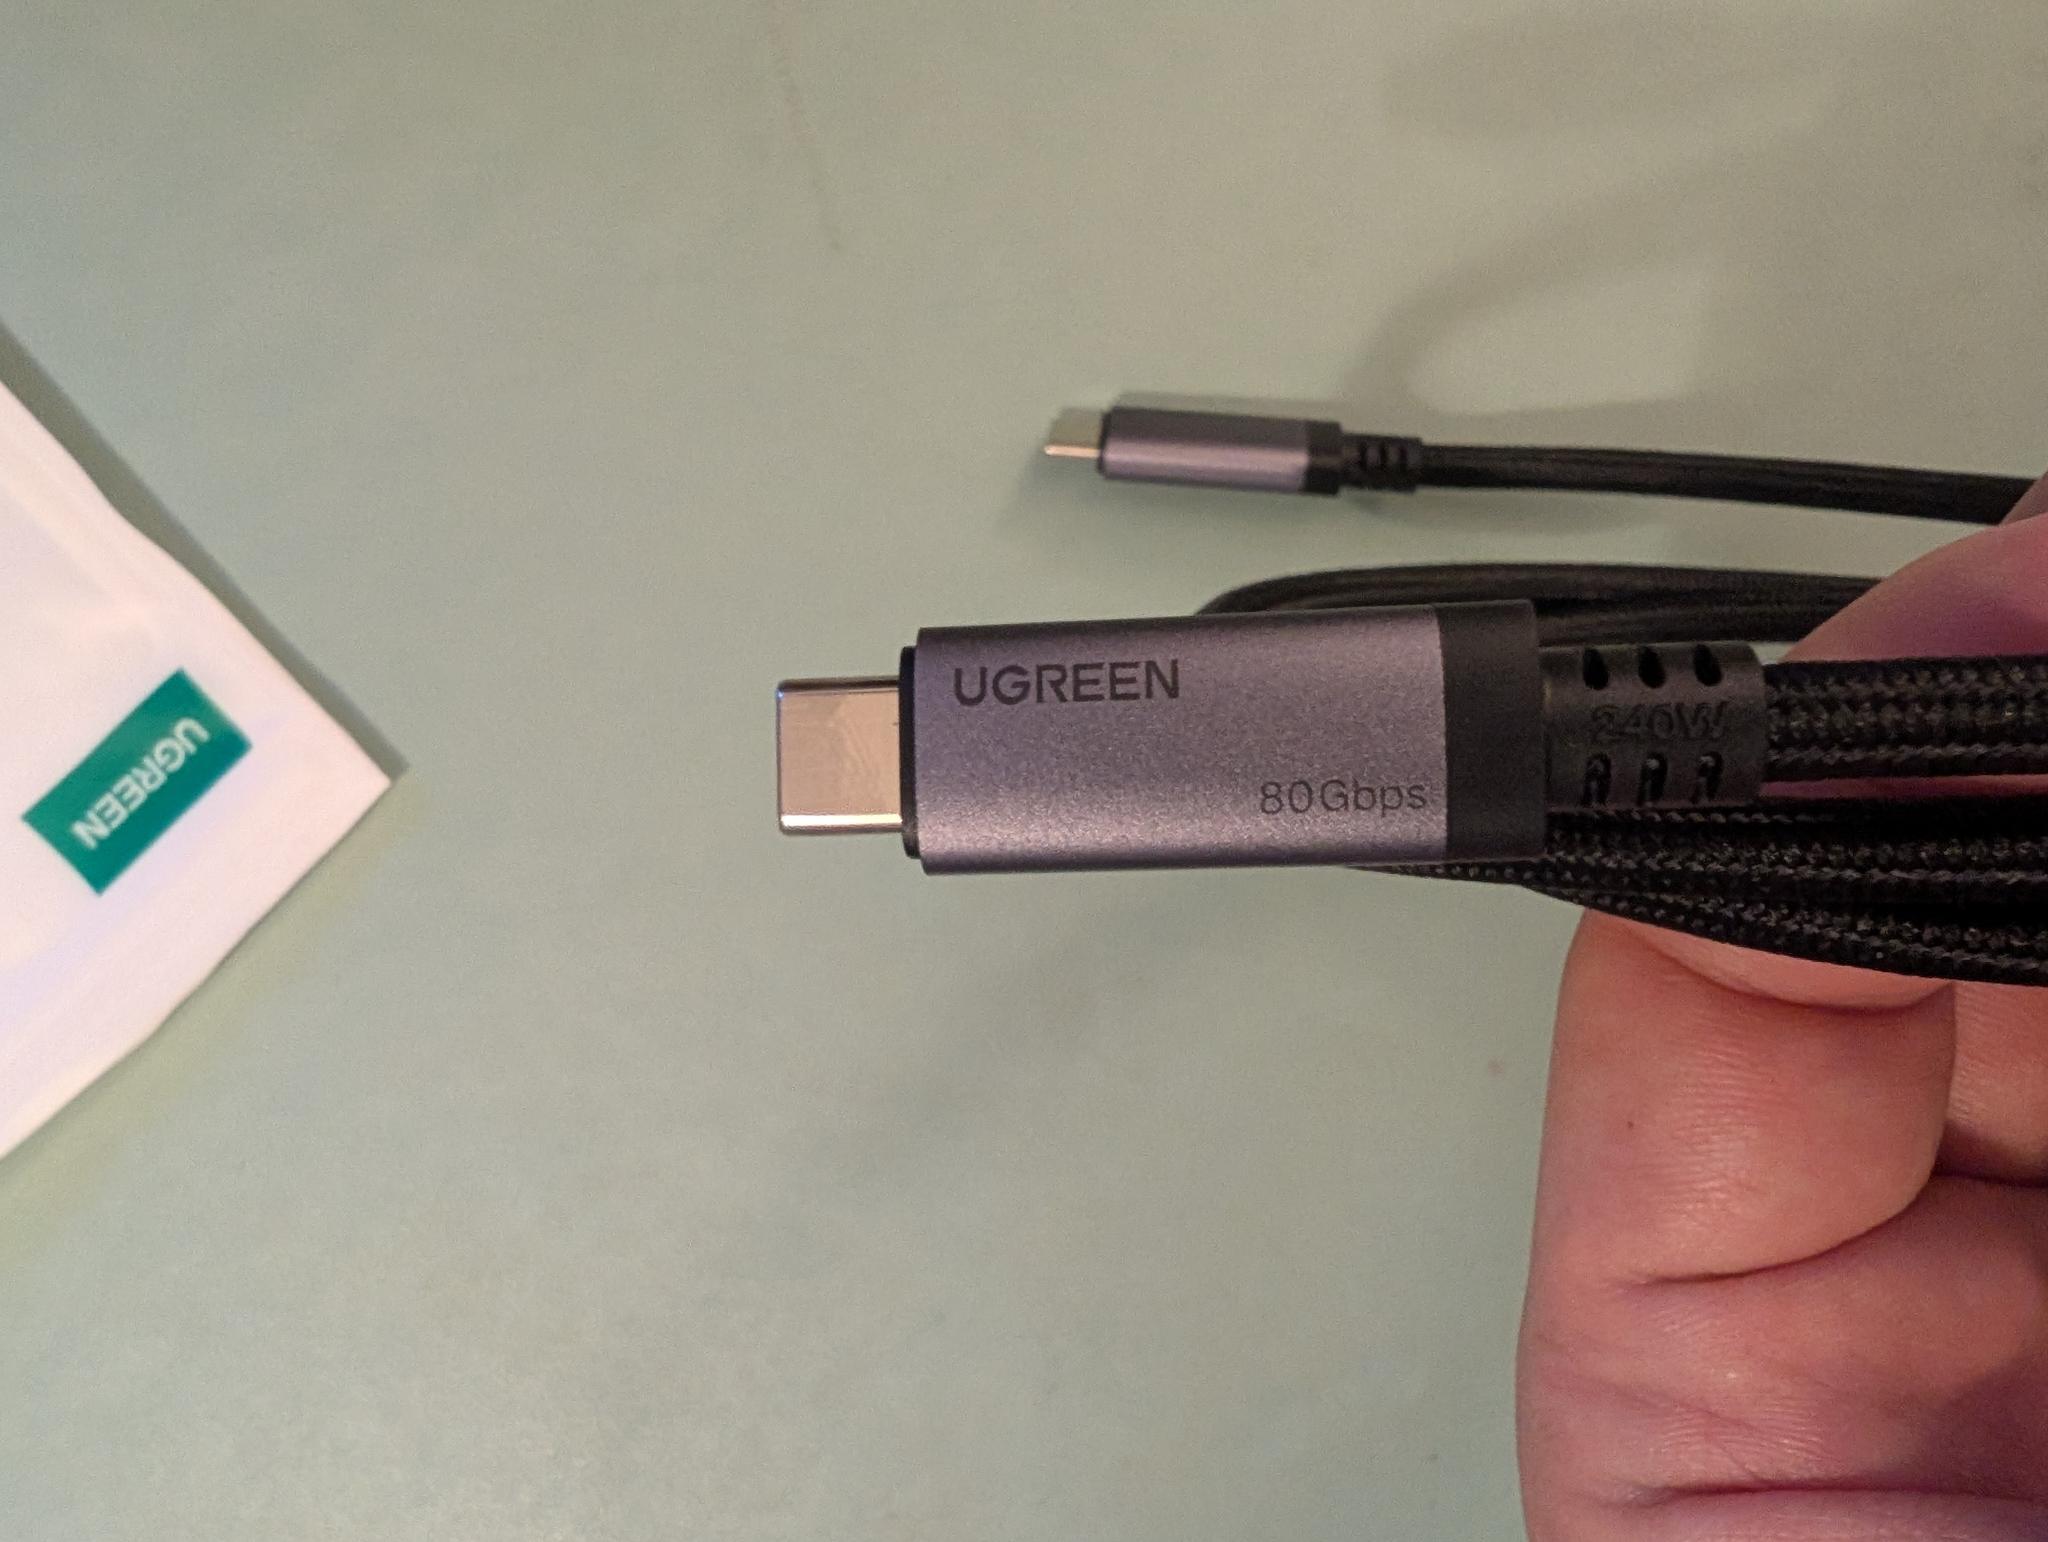
Having now learned that “USB-C cable” is a wide category, I decided to buy USB4 / USB 80Gbps-rated cables. Basically, it’s the most you can buy. Properly rated full-featured USB-C cables should also work with lower-speed USB modes, and the link will negotiate to the best speed supported by the host, device, and cable. I did not need 80 Gb/s for this SSD; I mainly wanted cables whose advertised data capability was no longer the weakest link. That was more than enough justification to treat myself to new gadgets.
I plugged a new cable into my laptop, ran lsusb -t, and got the satisfying number:
|__ Port X: Dev N, If 0, Class=Mass Storage, Driver=uas, 10000M
10 Gb/s. To confirm it translated into actual usable throughput, I pointed fio at the Ollama model blob:
$ fio --name=read \
      --filename=/path/to/sha256-b5a42ebf...bc2eb \
      --rw=read --bs=1M --direct=1 \
      --ioengine=libaio --iodepth=32 \
      --readonly --group_reporting
The flags that matter:
--direct=1bypasses the page cache, so a second run does not lie to you with multi-GB/s numbers from RAM.--ioengine=libaiotogether with--iodepth=32lets the kernel pipeline I/O through USB’s non-trivial per-request latency. At queue depth 1, each request waits for the previous one to complete; with 1 MiB blocks, even a few milliseconds of end-to-end latency can cap throughput well below the link speed.
With the right flags, on the laptop:
read: IOPS=894, BW=894MiB/s (938MB/s)(20.5GiB/23433msec)
938 MB/s — about 92% of the practical ceiling of USB 3.2 Gen 2 (around 1.0–1.1 GB/s after 128b/132b line encoding and protocol overhead). The 22 GB file that used to take roughly nine minutes to read cold now takes 23 seconds. I was very pleased with that.
The desktop has its own opinion
I unplugged the cable and the enclosure from the laptop, walked over to the desktop, plugged everything in there, ran lsusb -t to admire the new number, and saw 5000M.
Five thousand. Not ten thousand.
By process of elimination it had to be the USB-C port on the desktop, so I went to complain about it to my assistant. Claude ran lspci and found one of the AMD chipset’s “USB 3.1” controllers — which on this particular B550 motherboard turn out to be USB 3.1 Gen 1: 5 Gb/s. This is where I learned my final USB lesson of the week: “Gen 2” is the part that gets you to 10 Gb/s, and “USB 3.1” without “Gen 1,” “Gen 2,” or an explicit speed is not enough information. The useful label is the speed: 5 Gb/s, 10 Gb/s, 20 Gb/s, and so on. I had bought the cables expecting the host to keep up. The host had other plans.
So my shiny new 80 Gb/s cables, bought to future-proof a 10 Gb/s link, will run my actual rootfs at 5 Gb/s — exactly the same speed as that lone SuperSpeed cable I had already found in the drawer a few days earlier. By my arithmetic, that makes them sixteen times overspecified for the port they’re plugged into. On the bright side, they are now extremely well-prepared for whatever I plug them into next.
The actual numbers, on the actual desktop, are still a respectable 10× improvement over where I started:
| Setup | Throughput | 22 GB cold load |
|---|---|---|
| Original (USB 2.0 fallback) | ~40 MB/s | ~9 min |
| Now: 5 Gb/s on the desktop | ~470 MB/s | ~47 s |
| Hypothetical: 10 Gb/s (laptop test) | 938 MB/s | 23 s |
Disappointment aside, 47 seconds is fine. I can live with 47 seconds as a one-off when loading the model. My new cables will serve as a precious decoration item on my desk, ready to serve any high-speed USB-C gadget I might find or buy.
Could I go even faster anyway?
“Sure,” Claude told me, “but not in a convenient or economical way.”
| Option | Speed | What it requires |
|---|---|---|
| Current (this MB’s USB 3.1 Gen 1) | ~470 MB/s | nothing |
| USB 3.2 Gen 2 PCIe add-in card | ~1 GB/s | a free PCIe ×4 slot |
| USB4 enclosure + USB4 PCIe card | ~3 GB/s | a free PCIe ×4 slot |
| Direct M.2 NVMe | up to ~7 GB/s | a free M.2 slot |
The PCIe card paths require a PCIe slot that this Mini-ITX board does not have — the GPU is occupying the only one. The M.2 path is technically available (the B550M-ITX/ac has a second M.2 slot on the underside of the board, hooked up at PCIe Gen3 ×2, ~1.6 GB/s practical), but using it means dismantling the build and giving up the property I really like about this setup: the entire Linux installation lives on a removable disk that the UEFI auto-picks when present, with no boot-menu interaction between the Linux server and the Windows gaming drive. For 47-second model loads, none of that hassle is worth it.
Lessons
I had heard people say USB specs were complicated. I had nodded along, the way you nod when someone tells you DNS is hard, without really internalising it. I now understand, in a much more tactile way, what they meant.
The same connector, USB-C, can carry anything from 480 Mb/s to 80 Gb/s depending on whether the cable has the SuperSpeed pairs wired, whether the host port has the SuperSpeed pairs wired, whether the host’s xHCI controller is Gen 1 or Gen 2 or Gen 2x2 or USB4, and whether the device’s bridge chip negotiates SuperSpeed correctly. None of this is visible from the outside. On Linux, the quickest way to know what speed you actually negotiated is to plug everything in and read lsusb -t.
If you’re going to do this, three things I wish I had known going in:
Check lsusb -t, not just lsusb. The tree view shows the speed each device negotiated. If it doesn’t match what you expected, you have something worth investigating before blaming software.
Most USB-C cables in your house are probably USB 2.0. The cables that ship with phones and small electronics almost always are, regardless of how thick or “premium” they look. There is no reliable visual marker. The cables you can trust are the ones explicitly labelled USB 3 / SuperSpeed / 5 Gbps / 10 Gbps, or anything claiming USB4 or Thunderbolt.
Check the host before you buy the cable. The cable is the cheap part. The motherboard’s USB controller silicon is what actually decides your ceiling, and “USB 3.1” on a spec sheet does not tell you whether you’re getting Gen 1 or Gen 2. Run lspci and lsusb -t on the real target machine before spending money. Buying an “expensive” cable is one thing, but if you buy an HDMI-to-USB capture card and plug it into a USB 2.0 port, you really won’t get the value you paid for.